

First thing I researched for were the solutions, I ended up going with Micro Set and Sol.

The Blood Angel decals weren't a big deal, they have a good bit of them pre-made but for the Dusk Wolves I'd want their icon on their shoulders and there was no way I was going to free hand them all. So I went with Testors Decal Paper.


Since I figured out what I was going to do about the X-legion colors I started printing up all the DW Decals.

A few hints for people that are just starting out with decals.
1. Don't rush. Seriously. Take your time and if the decal starts folding over on itself put it back in the water. It will usually unfold on it's own but if it doesn't place it on the tip of your finger and spread it back out with the other hand. Then press if straight onto the surface, remember to apply Micro Set (or whatever solution you are going with).
2. Decals don't need to be in the water for very long. Place it in the water then apply the Micro Set to the surface. The time it took you to do that should be enough for the decal to have lifted from the paper. Remove it from the water and slide it onto the surface.
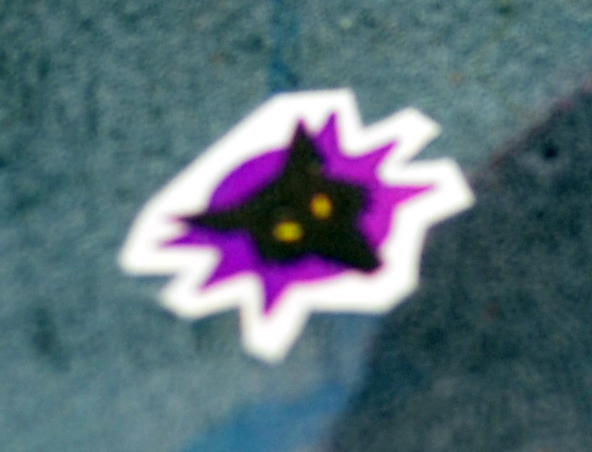
3. A flat surface is a very simple application but if you are doing Space Marine Should Pads they are rounded. This can be a pain as you will have a lot of creases. Terminators are larger so cutting the decal in a circle around the image works well. But when I'm applying them to a power armour shoulder pad I cut them more to shape like the one below. This helps with creases but it does make it harder to apply as the points will fold over themselves very easily. I try to keep the decal very wet and use a lot of Set on the surface. (sry, pic below is a bit blurry)
5. If you are like me you will get frustrated at first. Don't expect the decal to go on right the first time. it will take time plus trial and error. Keep your calm and don't fret if you have to take the decal off. Put it back in the water and then try again.
6. Once the decal is in place and looking good (and dry) you might think you are done, you're not. Well you can be but you can make the decal look better. Using Micro Sol I'll then go back and hit the edges of the decal, this will thin it and make its edges blend in better.
7. When printing your own decals you may see some sheets say 72 dpi. NEVER use that low of a res setting, it will be grainy. I use 300 dpi which is a typical printing resolution and comes out clean. For the Testors paper select plain paper and normal quality. Always print it out on a normal sheet of paper first, screen color and printed color are not always the same and you don't want to waste the trans paper.
I think that's it .. these are just some suggestions that I think can help, they work for me. 8)
Last night I ended up just decaling mini's that needed them.. Namely the Speeder, Termies and an Asssaulty.. I'll probably have to free hand a number on the Speeder as all the numbers are white or yellow from GW and I don't have the font that GW uses for their numbers. The decals in the pics below are a bit shiny but I haven't done anything to them other then apply them. 9)
Have a good weekend !


They do look quite sharp on your guys. Nice job. Maybe it's because I haven't used lots of decals myself, but I'm still a big fan of freehanding the work on there.
ReplyDeleteRon, FTW
I hear ya, on one offs I like the free hand but when it's going to be an full fielded army and the icon I made for the DW is more detailed with the Wolf, Ring, and Fade. Decal it is. 8) Not that the decal is that quick either but I like how crisp it is. In my mind they have a machine stamp it out, not a servitor with a shakey hand haha..
ReplyDelete